“I’ve been trying to install this vanity for three days and nothing lines up.” “My floating vanity won’t stay mounted—what am I doing wrong?!”
If these cries for help sound familiar, you’re not alone. Reddit’s bathroom renovation threads have seen a 300% spike in “difficulties” and 200% growth in “struggles” related to vanity installation. What should be a straightforward bathroom upgrade often turns into a weeks-long nightmare—thanks to misaligned plumbing, uncooperative walls, and hidden surprises.
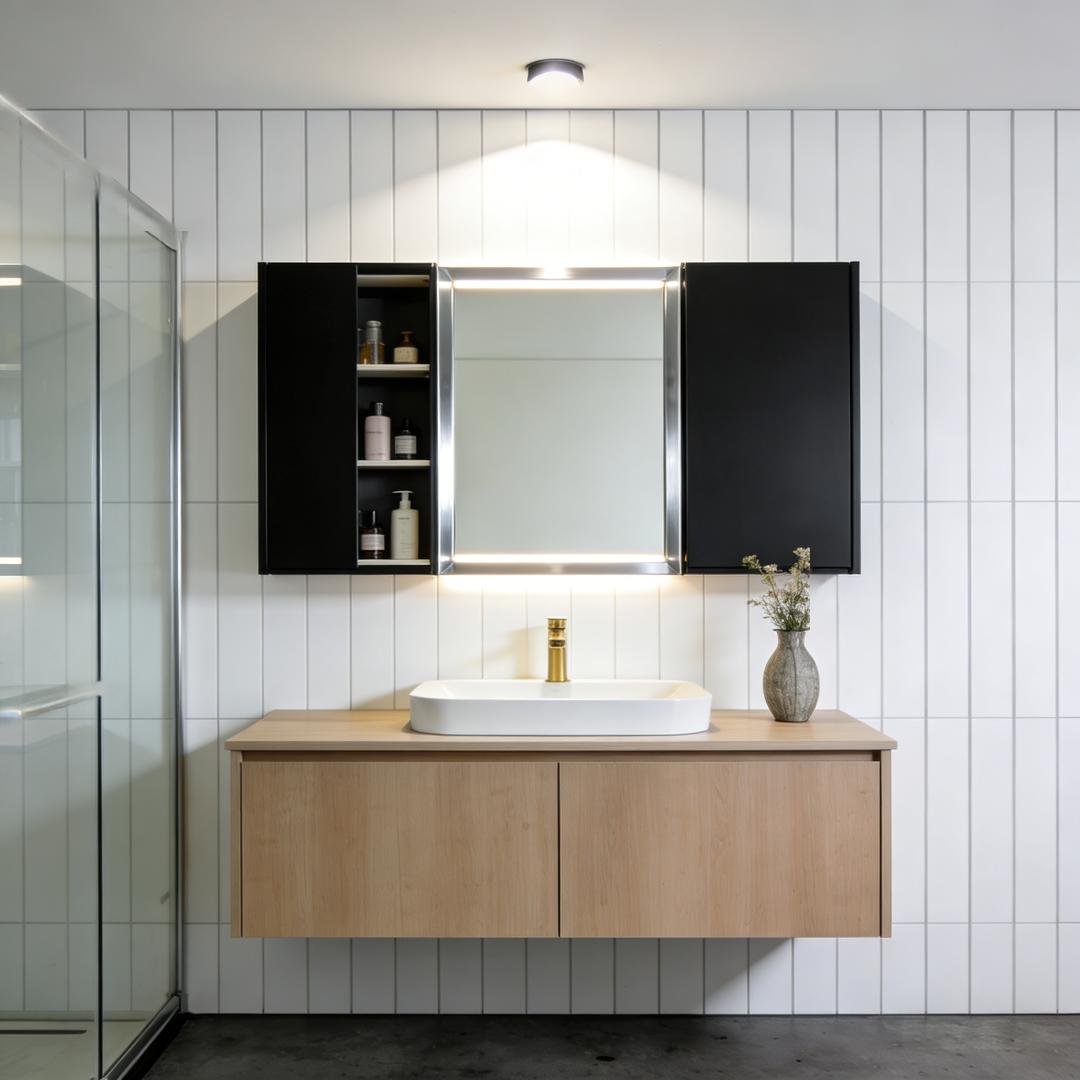
After analyzing hundreds of user horror stories, we’re breaking down the 5 most frustrating vanity installation problems—and the professional solutions that save time, money, and sanity. Whether you’re a DIY novice or a seasoned contractor, these installation tips will turn your bathroom project headache into a seamless win.
Problem #1: The “Plumbing That Won’t Cooperate”
The Frustration
You unbox your new vanity cabinet, haul it into the bathroom, and realize the water lines and drain are inches off. A “simple swap” suddenly feels impossible.
Reddit Reality
One user shared, “I bought a bathroom vanity that matched my old one’s width—only to find the new cabinet’s sink hole didn’t line up with the drain. I had to cut into the cabinet and reroute plumbing for $800.”
Professional Solutions
· Minor Misalignments: Use an offset drain connector (1–3 inches of adjustability) to bridge gaps without rerouting pipes.
· Flexible Options: Choose wall-mounted vanities—they offer more vertical/horizontal plumbing flexibility than freestanding models.
· Major Issues: Consult a plumber before installing—they can assess if you need a pipe extension or reroute (cheaper than fixing mistakes later).

Problem #2: The “Wall That Won’t Hold”
The Frustration
You’re ready to mount a vanity—only to discover studs are too far apart, or your wall is weak drywall that can’t support weight.
Real User Experience
“I spent 2 hours with a stud finder, then realized the studs were 24 inches apart—my vanity’s mounting bracket needs 16-inch spacing. Now it’s sitting on the floor collecting dust.”
Secure Solutions
· Drywall Mounting: Use heavy - duty toggle bolts (rated for 50+ lbs) for solid support without studs.
· Mounting Board Hack: Install a 2x4 mounting board between studs, then attach the vanity to the board for even weight distribution.
· Plan B: Opt for a freestanding vanity if your walls are outdated (e.g., plaster) or structurally weak—no drilling required.
Problem #3: The “Floor That Isn’t Level”
The Frustration
Your vanity sits flush against the wall, but it rocks when you touch it—thanks to uneven floors (common in old homes or poorly finished basements).
Common Complaint
“This house is 80 years old—nothing is straight. My vanity looks drunk, and I’m terrified it’ll tip over.”
Leveling Strategies
· Shim It: Slide wooden or plastic shims under the vanity base (focus on the rocking points) until level—trim excess shims for a clean look.
· Adjustable Legs: Choose vanities with built - in adjustable legs (turn to raise/lower individual sides) for precise leveling.
· Finish the Gap: After leveling, caulk the space between the vanity and floor to hide shims and prevent dust buildup.

Problem #4: The “Measurements That Lie”
The Frustration
You measured width, depth, and height—yet the vanity doesn’t fit. The culprit? Hidden protrusions and unaccounted-for countertop overhang.
The Hidden Culprits
· Countertop overhang (1–2 inches beyond the cabinet)
· Door swing clearance (your vanity blocks the bathroom door when open)
· Electrical outlets/switches (too close to the vanity’s edge)
Measurement Mastery
· Measure at 3 Heights: Walls aren’t straight—measure width at floor, countertop, and mirror levels to catch discrepancies.
· Account for Everything: Add 1–2 inches to your cabinet depth to account for countertop overhang.
· Cardboard Template: Cut a full - size cardboard template of the vanity (including overhang) and test - fit it in the space—this reveals door swing or outlet issues early.

Problem #5: The “Unexpected Surprise”
The Frustration
You remove old vanity and find a nightmare: water damage, mold, or rotted subfloor—turning a simple swap into a major bathroom renovation.
Reddit Warning
“Thought I was doing a simple vanity upgrade. Pulled out the old one and found black mold behind the wall. Now I’m tearing out drywall and replacing subfloors.”
Damage Control
· Contingency Budget: Set aside 15–20% of your project cost for surprises (mold remediation, subfloor repair).
· Pre - Install Inspection: Before ordering a new vanity, remove the old one (or pull it away from the wall) to check for water damage, mold, or structural issues.
· Address First, Install Later: Never mount a new vanity over mold or rotted wood—hire a professional to fix underlying problems to avoid future damage.

When to Call a Professional
DIY pride is great—but know when to tap out. Hire a pro if:
· You need significant plumbing rerouting (e.g., moving drain lines more than 3 inches).
· Structural damage (rotted subfloors, mold behind walls) is discovered.
· Electrical work is required (e.g., moving outlets to fit the vanity).
· You’ve spent 4+ hours troubleshooting and made no progress.

Conclusion
Vanity installation shouldn’t feel like a battle. By anticipating common installation problems—misaligned plumbing, weak walls, uneven floors, bad measurements, and hidden damage—and using professional solutions, you can ensure a smooth installation.
Remember: the best bathroom vanity installation is proactive. Measure carefully, inspect for surprises, and don’t hesitate to ask for help when needed.